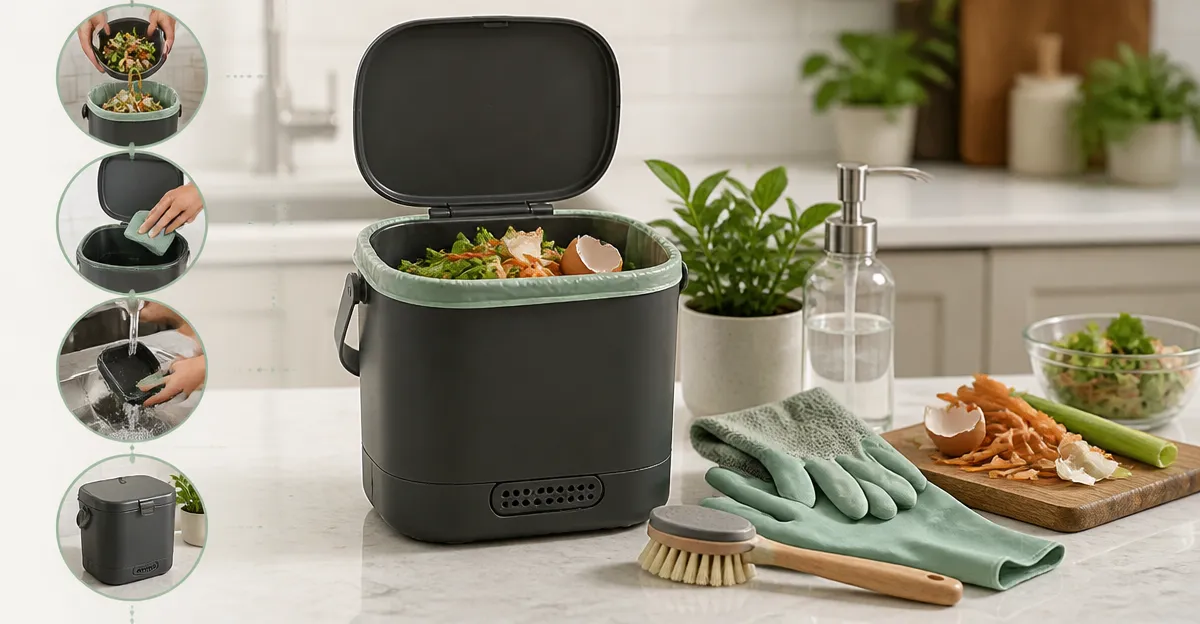
Introduction
This guide explains how to prevent allergen cross‑contamination in countertop compost bins while maintaining efficient food‑waste processing. Readers will learn how to identify high‑risk allergens, select appropriate tools, and implement cleaning protocols that safeguard sensitive individuals. The information is valuable for households that practice indoor composting and have members with nut, gluten, or dairy sensitivities. By following the steps, one can enjoy the environmental benefits of composting without compromising health.
What You'll Need
- Dedicated compost bin for allergen‑free material
- Separate collection containers for allergen‑containing scraps
- Cleaning supplies: food‑grade sanitizer, soft brush, microfiber cloth
- Odor‑control filters (activated carbon)
- Optional electric composters for rapid processing
Below are recommended products that simplify each task.
Step 1: Designate an Allergen‑Free Compost Zone
Begin by assigning a specific countertop area for allergen‑free composting. Use a bin that offers a visible lid and easy access to prevent accidental mixing of allergen‑laden waste. The Saluna 4L Electric Kitchen Composter provides a sealed environment with a clear window, allowing visual monitoring without opening the lid. Its 4‑liter capacity accommodates a family's daily waste while reducing volume by up to 90 percent. The smart LED display guides the user through composting modes, and the auto‑cleaning function minimizes manual handling of allergens.
Why this product is useful: the sealed lid prevents airborne particles from escaping, and the auto‑clean cycle removes residue that could harbor allergenic proteins. The dual activated carbon filters further reduce odor, which can mask the presence of allergen particles.
Key specifications: price $224.99, rating 5.0/5 from 43 reviews, in stock.
Step 2: Separate Allergen‑Containing Scraps at Source
Place a small stainless‑steel container next to the primary bin for nuts, seeds, dairy, or gluten‑rich leftovers. The Epica Countertop Compost Bin is ideal for this purpose because its airtight lid and replaceable charcoal filter trap odors and limit particle escape. Its 1.3‑gallon capacity is sufficient for daily collection without crowding the countertop.
Why this product is useful: the separate bin isolates high‑risk materials, allowing the user to empty it directly into an outdoor compost system or a dedicated allergen‑free bin later. The stainless‑steel construction resists rust and leaks, ensuring that liquid allergens do not seep into surrounding surfaces.
Key specifications: price $29.98, rating 4.6/5 from 20,881 reviews, in stock.
Step 3: Pre‑Treat Allergen Scraps Before Composting
Before adding any material to the primary compost bin, rinse solid allergens such as peanuts or soybeans under running water. This step reduces surface proteins that could become airborne during grinding. After rinsing, pat the items dry with a clean microfiber cloth to avoid excess moisture that could affect composting efficiency.
If an electric composter is used, select the “Crush” mode for low‑heat processing of allergen‑free waste. The Ouaken 4L Electric Kitchen Composter offers three modes, including a low‑energy crush setting that minimizes aerosol generation. Its quiet operation (below 40 dBA) ensures that the process does not disturb household members.
Why this product is useful: the crush mode reduces particle size without heating, which limits the release of allergenic proteins into the air. The transparent lid allows the user to monitor progress without opening the unit.
Key specifications: price $215.96, rating 4.2/5 from 878 reviews, in stock.
Step 4: Implement a Rigorous Cleaning Routine
After each composting cycle, activate the auto‑clean function of the electric composter or manually clean the bin with a food‑grade sanitizer. Use a soft brush to scrub interior surfaces, paying special attention to seams and corners where residue may accumulate. Rinse thoroughly and dry with a lint‑free cloth.
For non‑electric bins, the Utopia Kitchen Countertop Compost Bin is constructed from stainless steel, making it easy to sanitize with a vinegar solution. Its removable lid and smooth interior facilitate quick cleaning, reducing the risk of allergen buildup.
Why this product is useful: stainless steel does not absorb odors or proteins, and the simple design eliminates hard‑to‑reach crevices. Regular cleaning after each use creates a barrier against cross‑contamination.
Key specifications: price $26.99, rating 4.5/5 from 20,088 reviews, in stock.
Step 5: Maintain and Replace Odor‑Control Filters
Activated carbon filters capture microscopic particles, including allergen fragments, that may escape during the composting process. Replace filters according to the manufacturer’s schedule—typically every three to six months for the Epica and Utopia bins, and every five months for the Saluna unit.
When replacing a filter, wear disposable gloves to avoid direct contact with any residual allergens. Dispose of the used filter in a sealed bag before discarding it in the trash.
Regular filter maintenance ensures that the composting environment remains airtight and that allergen exposure is minimized.
Tips & Pro Tips
- Label each collection container with color‑coded stickers to differentiate allergen‑free from allergen‑containing waste.
- Store the allergen‑free bin away from high‑traffic areas to reduce accidental contact.
- Use a dedicated set of kitchen utensils for handling allergen‑free scraps; keep them separate from those used for allergen‑rich foods.
- Consider a small HEPA air purifier near the compost area to capture any airborne particles that may escape during grinding.
- Schedule a weekly deep‑cleaning session for all bins, even if the auto‑clean function has been used.
Troubleshooting
- Unpleasant odor persists: Verify that the carbon filter is correctly seated and not saturated. Replace the filter if it appears discolored.
- Allergen residue on the countertop: Increase the frequency of cleaning cycles and use a disposable silicone mat under the bin to catch drips.
- Composter stops working: Check the power cord and reset the unit according to the manufacturer’s instructions. If the issue persists, contact customer support as outlined in the warranty.
Conclusion
By designating separate zones, pre‑treating allergen‑rich scraps, selecting appropriate composting tools, and maintaining a strict cleaning schedule, one can safely compost on the countertop without risking cross‑contamination. The recommended products—Saluna 4L Electric Kitchen Composter, Epica Countertop Compost Bin, Ouaken 4L Electric Kitchen Composter, and Utopia Kitchen Countertop Compost Bin—provide reliable features that support allergen‑safe practices. Implementing these steps will allow households to enjoy sustainable waste reduction while protecting the health of allergic individuals.
Products Mentioned in This Guide
Frequently Asked Questions
How can I create an allergen‑free zone for countertop composting?
Designate a specific countertop area and use a dedicated bin with a visible lid, keeping it separate from other kitchen waste.
What tools help prevent cross‑contamination when composting allergens?
Use separate collection containers for allergen‑containing scraps, a soft brush, food‑grade sanitizer, and microfiber cloths for cleaning.
How often should I clean my allergen‑safe compost bin?
Clean the bin with sanitizer and a brush after each batch or at least once a week to remove residue.
Can I use an electric composter for allergen‑free material?
Yes, electric composters process waste quickly and can be dedicated to allergen‑free scraps to further reduce contamination risk.
What odor‑control measures are recommended for allergen‑safe countertop compost?
Install activated‑carbon filters or replaceable odor‑control filters to keep smells low without compromising hygiene.