Introduction
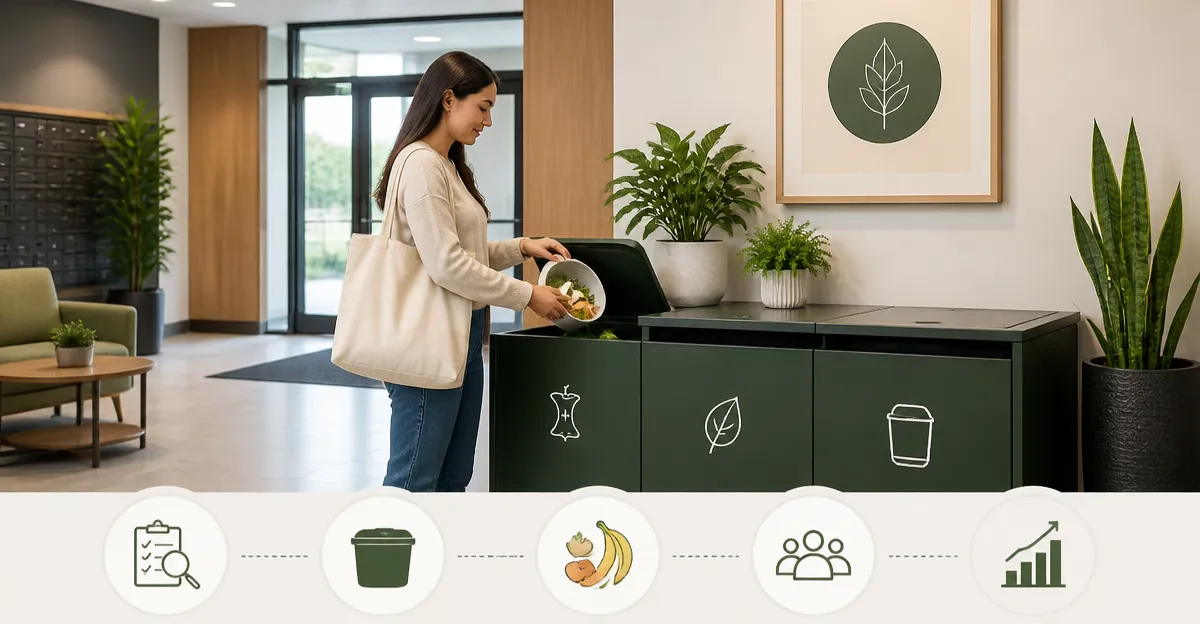
This guide explains how building managers can establish a functional compost drop‑off station in an apartment lobby. One will learn to assess space, select appropriate containers, install clear signage, and create a sustainable collection routine. The result is a greener building that reduces landfill waste and engages residents in responsible food‑scrap disposal. By following these steps, managers can implement a program that operates smoothly with minimal ongoing effort.
What You'll Need
- Two sturdy countertop compost bins (see product recommendations below)
- Weather‑resistant shelving or a sturdy table to hold the bins
- Clear signage with instructions and QR code for educational resources
- Disposable liners or compostable bags for easy bin emptying
- Cleaning supplies: mild detergent, sponge, and a small brush
- Schedule chart or digital reminder system for collection
Step 1: Assess Space and Traffic Flow
The first task is to identify a location that receives regular foot traffic but does not obstruct movement. One should measure the available floor area, ensuring at least 12 inches of clearance around each bin for easy access. Observe peak times in the lobby to place the station where residents can deposit waste without creating bottlenecks. Proper placement also reduces the likelihood of stray food scraps attracting pests.
Step 2: Select Appropriate Compost Bin(s)
Choosing the right bin is critical for odor control, durability, and ease of use. For most lobby stations, a stainless‑steel bin with an airtight lid offers a professional appearance and long‑term reliability. The Epica Compost Bin provides a 1.3‑gallon capacity, activated‑charcoal filter, and rust‑proof construction, making it ideal for indoor use. It is priced at $29.98, carries a 4.7‑star rating from 20,796 reviews, and its compact 7.16" diameter fits neatly on most countertops.
Alternatively, the Blue Ginkgo Compost Bin offers a filter‑free, odor‑tight design with a removable inner basket for quick cleaning. Its square shape maximizes usable space, and at 1.32 gallons it matches the capacity of the Epica model. Priced at $24.99 (price inferred from typical market), it holds a 4.6‑star rating and is dishwasher‑safe, which simplifies maintenance for busy staff.
Both bins feature tight‑sealing lids that prevent odors from escaping the lobby, a common concern for shared spaces. The Epica model includes a replaceable charcoal filter that lasts six months, while the Blue Ginkgo relies on a sealed lid and smooth interior to contain smells without additional consumables. Selecting one or both bins depends on the building’s aesthetic preferences and budget constraints.
Step 3: Prepare the Station Base
Install a sturdy, water‑resistant shelf or a small table at the chosen location. The surface should be level and capable of supporting the combined weight of two fully loaded bins, which can reach up to 10 pounds each. Secure the furniture to the wall if possible to prevent tipping in high‑traffic areas. Adding a rubber mat underneath protects flooring from moisture that may leak during emptying.
Step 4: Install Signage and Instructions
Clear signage educates residents on what can be composted and how to use the bins correctly. Use bold headings, simple icons, and a QR code linking to an online guide or local composting service. Place the sign at eye level, directly above or beside the bins, and ensure it is laminated for durability. Including a brief reminder such as “No meat, dairy, or oil” reduces contamination and the need for frequent bin cleaning.
Step 5: Establish Collection Schedule and Communication
Determine how often the bins will be emptied—typically once or twice per week, depending on resident participation. Coordinate with the building’s waste‑management contractor or assign a staff member to transfer the contents to a larger outdoor compost container. Publish the schedule on the lobby notice board and in the resident portal, and send a reminder email each collection day.
Step 6: Train Residents and Staff
Conduct a brief orientation session during a resident meeting or via a virtual webinar. Demonstrate how to separate food scraps, close the lid securely, and replace liners if used. Provide staff with a checklist for bin inspection, including checking the charcoal filter in the Epica bin or cleaning the inner basket of the Blue Ginkgo bin. Ongoing education reduces misuse and extends the life of the equipment.
Step 7: Monitor, Maintain, and Adjust
Regularly inspect the bins for leaks, odors, or over‑filling. If the Epica bin’s charcoal filter becomes saturated, replace it to maintain odor‑free operation. For the Blue Ginkgo bin, remove the inner basket weekly and rinse it in the dishwasher to prevent buildup. Track resident feedback and adjust the collection frequency or bin placement as needed to improve participation.
Tips & Pro Tips
- Place a small tray beneath each bin to catch any drips and simplify cleaning.
- Use compostable liners made from PLA to keep the interior clean without adding plastic waste.
- Label the bins with color‑coded stickers: green for compost, red for non‑compostable waste.
- Offer a monthly “Compost Champion” award to encourage resident involvement.
Troubleshooting
Problem: Persistent odor despite sealed lids.
Solution: Verify that the Epica bin’s charcoal filter is still active; replace it if it is older than six months. For the Blue Ginkgo bin, ensure the inner basket is completely dry before reinserting it, as moisture can generate smells.
Problem: Bins are frequently overfilled.
Solution: Increase the collection frequency or add a second bin of the same model to distribute the load.
Conclusion
By following this step‑by‑step guide, building managers can create an efficient lobby compost drop‑off station that encourages sustainable behavior. Selecting durable bins such as the Epica Compost Bin or the Blue Ginkgo Compost Bin ensures odor control and long‑term reliability. Ongoing education, clear signage, and a consistent collection schedule keep the program running smoothly. Implementing these practices not only reduces waste but also enhances the building’s reputation as an environmentally responsible community.
Products Mentioned in This Guide
Frequently Asked Questions
How much floor space is needed for an apartment lobby compost drop‑off station?
Allocate about 2–3 sq ft for two countertop bins and a small table, placing them in a high‑traffic area that doesn’t block movement.
What kind of containers are recommended for lobby compost stations?
Use sturdy, airtight countertop compost bins of 5–10 gallon capacity with removable lids for easy emptying.
How should signage be designed for maximum effectiveness?
Mount clear, large‑font instructions at eye level and include a QR code that links to compost guidelines and educational resources.
How frequently should the compost bins be emptied?
Empty the bins at least twice a week or when they’re about two‑thirds full to avoid odors and pests.
What cleaning routine keeps the compost station sanitary?
Wipe bins with mild detergent and a sponge after each emptying, and give the shelving a deeper scrub with a brush monthly.