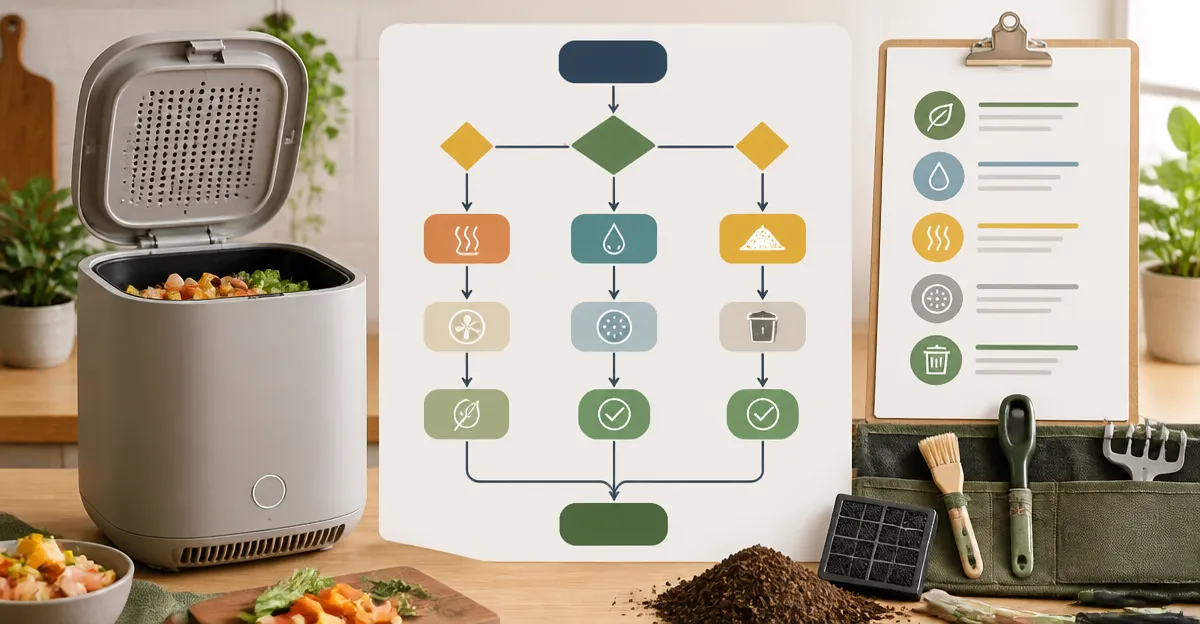
How to Troubleshoot Your Countertop Composter (Free Printable Flowchart + Quick Fixes)
Introduction
Every modern kitchen strives for sustainability, and a countertop composter represents a tangible commitment to reducing waste. When the device fails to operate as expected, frustration can replace enthusiasm. This guide will teach the reader how to diagnose and resolve the most common problems, while offering a printable flowchart for quick reference. By following the step‑by‑step instructions, the reader will restore reliable operation, extend the lifespan of the equipment, and maintain an odor‑free environment.
What You’ll Need
- Phillips screwdriver set
- Microfiber cleaning cloth
- Replacement carbon filter (if applicable)
- Food waste ratio guide (brown to green materials)
- Optional tools: Ouaken 4L Electric Composter for comparison and spare parts
Step 1 – Verify Power and Settings
The first step in any troubleshooting process is to confirm that the unit receives power and is set to the appropriate mode. Unplug the device, wait ten seconds, and plug it back in to reset the internal controller. Then inspect the touch interface to ensure that the selected mode matches the waste type: Crush for volume reduction, Ferment for nutrient‑rich compost, or Clean for automatic maintenance. If the display remains blank, examine the power cord for fraying and test the outlet with a separate appliance.
For users who own a Ouaken 4L Electric Composter, the built‑in diagnostic LED will flash a specific pattern indicating the fault. Refer to the user manual to interpret the pattern; a steady amber light often signals a clogged blade, while a rapid blinking sequence may indicate an over‑temperature condition.
Step 2 – Inspect the Blade Assembly
Blade blockage is the most frequent cause of reduced performance. Remove the detachable bucket according to the manufacturer’s instructions and place it on a stable surface. Use a Phillips screwdriver to loosen the securing screw that holds the blade guard. Gently rotate the blade to check for foreign objects such as fruit pits, bone fragments, or excessive fibrous material.
If blockage is discovered, clear the obstruction with a pair of tweezers and re‑assemble the guard. For a more robust solution, consider the Ouaken 4L Electric Composter model, which features low‑speed, high‑torque blades designed to handle tougher waste without frequent jams. The blade assembly is rated for up to 90 % waste reduction within three hours, and the unit operates below 40 dBA, making it suitable for night‑time use.
Step 3 – Clean the Carbon Filter
Odor control depends on a functional carbon filter. Over time, the filter becomes saturated and loses its ability to neutralize volatile compounds. Locate the filter compartment, usually positioned behind the lid or beneath the unit, and remove the cartridge. Inspect the filter for discoloration or visible debris.
Replace the filter if it appears worn. The Ouaken 4L Electric Composter includes a large‑capacity carbon filter that lasts up to five months, providing long‑lasting odor control with minimal maintenance. For larger households, the Reencle Prime 14L Electric Composter offers a three‑layer filtration system that handles higher volumes while maintaining a whisper‑quiet operation of 28 dB.
Step 4 – Optimize Waste Composition
Successful composting requires a balanced mixture of carbon‑rich (brown) and nitrogen‑rich (green) materials. A recommended ratio of 2 parts brown to 1 part green prevents excessive moisture, reduces clumping, and speeds up microbial activity. Examples of brown materials include shredded newspaper, dry leaves, or pine needles; green materials consist of vegetable peels, coffee grounds, and fruit scraps.
The Airthereal R500 Electric Composter includes a built‑in guidance system that reminds the user to add dry material after a wet load, reducing the likelihood of motor overload. Its 2.5 L capacity is ideal for small families, and the device processes waste into a dry powder within four hours, allowing the user to empty the bin each night.
Step 5 – Perform Routine Maintenance
Regular maintenance prevents the accumulation of residue that can impair performance. After each composting cycle, empty the collection bucket and rinse it with warm water. The bucket of the Ouaken 4L Electric Composter is dishwasher safe, simplifying the cleaning process.
Run the Clean mode once a week to clear internal dust and to lubricate moving parts. Inspect the exterior for dust buildup and wipe it with a microfiber cloth. For stainless‑steel durability, the Epica Kitchen Compost Bin offers a rust‑resistant construction that can be hand‑washed without fear of corrosion, making it a reliable backup for manual composting when the electric unit is offline.
Tips & Pro Tips
- Always empty the bucket before starting a new cycle; residual material can cause clumping and increase power consumption.
- Use the Ferment mode for nutrient‑dense output; the longer processing time yields higher microbial activity.
- Keep a small supply of dry filler material (e.g., shredded paper) near the composter to adjust moisture levels quickly.
- Schedule a monthly inspection of the blade guard screws; tightening them prevents accidental disengagement during operation.
- If the unit emits a high‑pitched squeal, pause the cycle and check for loose blades before restarting.
Troubleshooting Quick‑Fix Table
| Symptom | Possible Cause | Solution |
|---|---|---|
| Unit does not start | Power cord damaged or outlet inactive | Test outlet with another device; replace cord if frayed. |
| Noise above 40 dBA | Blade obstruction or loose screws | Turn off, remove bucket, clear debris, tighten screws. |
| Persistent odor | Carbon filter saturated | Replace filter; add additional dry material to next load. |
| Compost remains wet | Imbalanced waste ratio | Increase brown material; reduce green input. |
| Machine stops mid‑cycle | Overheating protection triggered | Allow unit to cool for 15 minutes, then restart. |
Conclusion
By following the systematic approach outlined above, the reader can identify the root cause of most countertop composter malfunctions and apply an appropriate fix. Regular maintenance, proper waste balancing, and timely filter replacement ensure optimal performance and a pleasant kitchen atmosphere. The printable flowchart included in the downloadable PDF serves as a handy reference for future incidents, reinforcing the habit of proactive care.
Implementing these practices not only prolongs the lifespan of the equipment but also contributes to a greener household by diverting organic waste from landfills. The reader is encouraged to share the guide with fellow sustainability enthusiasts and to explore the recommended tools that simplify each step of the process.
Products Mentioned in This Guide
Frequently Asked Questions
Why won’t my countertop composter turn on?
Check that it’s plugged in, the outlet works, and the power switch or button is set to the correct mode.
What should I do if the composter emits a strong odor?
Ensure the brown-to-green waste ratio is balanced, clean the interior with a microfiber cloth, and replace the carbon filter if it’s dirty.
How often should I replace the carbon filter?
Replace the filter every 2–3 months, or sooner if you notice reduced airflow or lingering smells.
Why does the composter stop mid‑cycle?
A clogged filter, overloaded waste, or a loose screw can interrupt the cycle; inspect and tighten components, then restart.
Can I use the free printable flowchart for quick troubleshooting?
Yes, print the flowchart and follow the step‑by‑step decisions to identify and fix common issues quickly.