Introduction
In this guide one will discover how to transform a standard countertop composter into a voice‑controlled smart appliance. By the end of the article the reader will be able to issue commands such as "Alexa, start the composter" or "Hey Google, check the compost cycle". The value of this integration lies in hands‑free operation, precise scheduling, and the ability to monitor compost progress from any room in the house. This guide balances technical detail with practical advice, making the process accessible to an intermediate audience.
What You'll Need
- A countertop electric composter that supports Wi‑Fi connectivity (e.g., Magnavox Home Food Waste Composter).
- An active Amazon Alexa account and a Google Home/Assistant account.
- A stable home Wi‑Fi network with 2.4 GHz or 5 GHz capability.
- A smartphone or tablet with the Alexa and Google Home apps installed.
- Optional: a secondary composter such as Airthereal Revive Kitchen Composter for users who prefer a drying‑type system.
Step 1: Set Up the Countertop Composter
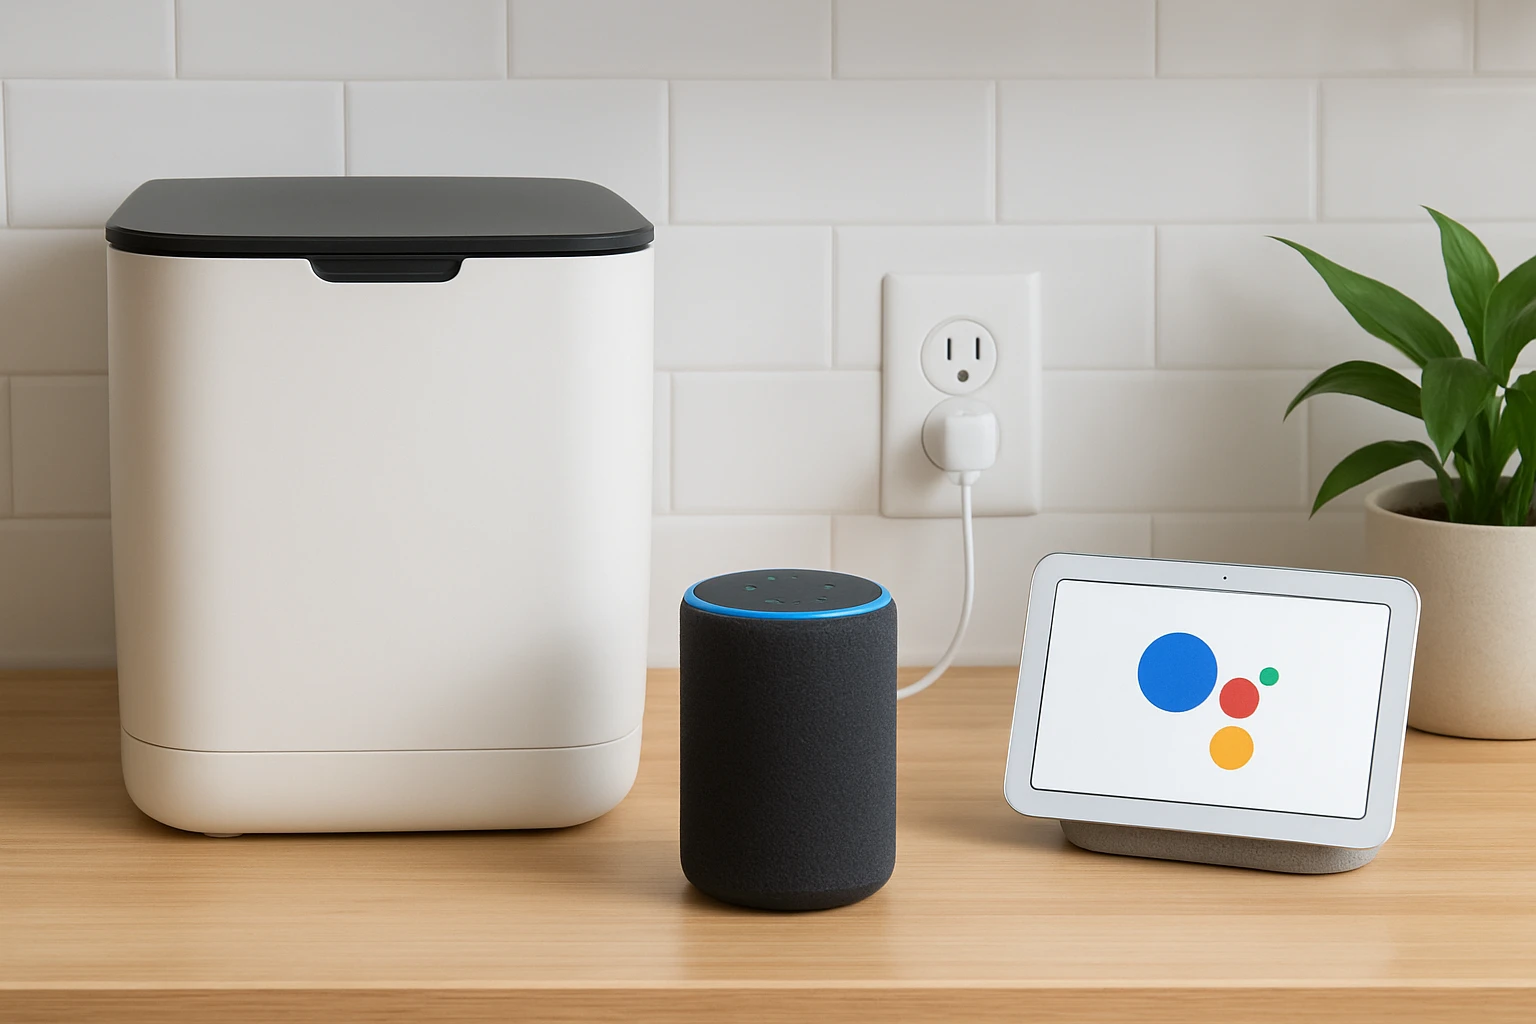
The first task is to place the composter on a stable, heat‑resistant surface near a power outlet. The Magnavox Home Food Waste Composter offers a 1‑gallon stainless‑steel bucket, a digital touchscreen, and dual carbon filters that eliminate odour during operation. Its 500 W motor provides rapid breakdown of food scraps within four to six hours, making it an ideal base model for smart integration.
After plugging the unit in, press the power button on the touchscreen. The display will prompt for Wi‑Fi configuration. Select the language, then choose the network name (SSID) and enter the password. The composter will confirm a successful connection with a green icon. This step is crucial because both Alexa and Google Assistant rely on the device being reachable on the local network.
During configuration, verify that the firmware is up to date. The composter’s menu includes a “Check for Updates” option; applying the latest firmware ensures compatibility with the upcoming skill and action installations.
If the user prefers a dryer‑type system, the Airthereal Revive Kitchen Composter can be set up in the same manner. Its 2.5 L aluminum bucket and SHARKSDEN Trinity Blade provide rapid grinding and drying, producing a powder suitable for plant fertiliser. The initial Wi‑Fi setup follows identical steps, as the device also supports cloud connectivity.
Step 2: Enable the Alexa Skill
Open the Alexa app on the mobile device and tap the menu icon. Navigate to “Skills & Games” and use the search bar to locate the skill named “Smart Kitchen Composter”. Select the skill and press the “Enable to Use” button. The app will request permission to access the composter’s cloud account; provide the credentials created during the Wi‑Fi setup.
Once linked, Alexa will discover the device automatically. Verify discovery by saying, "Alexa, list my smart devices." The response should include the composter under a name such as "Kitchen Composter". If the device does not appear, use the “Add Device” option in the Alexa app and select “Other” → “Composter”. Follow the prompts to re‑enter the cloud credentials.
After successful discovery, test a simple command: "Alexa, start the composter." The composter’s touchscreen will display a running cycle, confirming that voice control is operational. Users can also ask, "Alexa, how much time remains?" to receive an estimated completion time based on the auto‑weighing function.
For households that own the Airthereal Food-to-Soil Composter, the same Alexa skill can be used because the manufacturer bundles all three models under a unified cloud service. This eliminates the need for separate skill installations.
Step 3: Connect the Device to Google Assistant
Launch the Google Home app and tap the “+” icon to add a new device. Choose “Set up device” → “Works with Google”. In the search field type “Smart Kitchen Composter” and select the appropriate service. Sign in with the same cloud credentials used for Alexa. Grant the requested permissions for device control and status monitoring.
After linking, Google Home will list the composter as a controllable entity. Rename the device to a concise label such as "Composter" for easier voice commands. Test the connection by saying, "Hey Google, start the composter." The device should begin a cycle, and Google will confirm with a spoken acknowledgment.
Google Assistant also supports routine creation. Open the “Routines” section, create a new routine named "Evening Compost", and add the action “Start Composter”. Set the trigger time to 10 PM, ensuring that food waste collected throughout the day is processed overnight. This automation mirrors the manual one‑button operation described in the product specifications.
If the user prefers the space‑saving Airthereal Food-to-Soil Composter, the same Google integration applies. Its compact one‑cubic‑foot footprint makes it ideal for small kitchens, while still offering the same voice‑control capabilities.
Step 4: Create Custom Voice Routines
Both Alexa and Google Assistant allow the creation of multi‑action routines. For example, a user might want to empty the compost bin after each cycle. In the Alexa app, create a routine named "Compost Complete" with the trigger “When the composter finishes”. Add the action “Notify me” and optionally “Turn on kitchen lights”. This provides a visual cue that the compost is ready for removal.
In Google Home, a similar routine can be built using the “When a device changes” trigger. Select the composter’s status change to “Idle” and add actions such as “Send a phone notification” and “Play a reminder sound”. These routines reduce the need for constant visual checks and improve overall efficiency.
When configuring routines, consider the composting modes described in the product manuals. The Magnavox Home Food Waste Composter offers manual mode with adjustable times from one to six hours. A routine can be set to start a quick one‑hour cycle during a lunch break, then a longer six‑hour cycle overnight.
For the dryer‑type Airthereal Revive Kitchen Composter, the routine might include a “Dry Cycle” command after the grinder finishes, ensuring the powder is fully dehydrated before storage.
Tips & Pro Tips
- Place the composter within 10 feet of the Wi‑Fi router to minimise latency and avoid connection drops.
- Use the auto‑weighing function on the Magnavox Home Food Waste Composter to let the device adjust cycle length automatically; this improves energy efficiency.
- Regularly replace the dual carbon filters to maintain odour‑free operation. The filters are inexpensive and last approximately three months under normal use.
- If the composter does not respond to voice commands, verify that the cloud service is online by checking the companion app status indicator.
- For households with multiple smart assistants, assign distinct device names (e.g., "Kitchen Composter Alexa" and "Kitchen Composter Google") to avoid cross‑triggering.
- Enable push notifications in both Alexa and Google Home apps to receive alerts when a cycle completes or when the bin is full.
Troubleshooting
Problem: Voice command does not start the composter.
Solution: Ensure the composter is powered on and connected to Wi‑Fi. Re‑authenticate the cloud account in the Alexa or Google Home app, then issue the command again.
Problem: The device appears offline in the smart‑home dashboard.
Solution: Restart the router, then power‑cycle the composter by unplugging it for 30 seconds. After the device reconnects, refresh the smart‑home app.
Problem: Odour persists despite carbon filters.
Solution: Clean the removable bucket with mild soap and warm water, then replace the filters. Verify that the lid is sealed properly during each cycle.
Conclusion
By following the steps outlined in this guide one can seamlessly integrate a countertop composter with both Alexa and Google Assistant. Voice control, automated routines, and real‑time notifications transform composting from a manual chore into a smart‑home convenience. The recommended products – the Magnavox Home Food Waste Composter, Airthereal Revive Kitchen Composter, and Airthereal Food-to-Soil Composter – provide reliable platforms for this integration. Whether one chooses a larger 1‑gallon unit or a compact space‑saving model, the underlying process remains consistent, empowering sustainable living through technology.
Products Mentioned in This Guide
Frequently Asked Questions
What type of countertop composter is needed for Alexa and Google Assistant integration?
You need an electric composter that includes built‑in Wi‑Fi or supports a smart plug compatible with Alexa and Google Assistant.
How do I connect the composter to my home Wi‑Fi network?
Follow the manufacturer’s app instructions to put the composter in pairing mode, select your 2.4 GHz or 5 GHz network, and enter the Wi‑Fi password.
What are the steps to link the composter with the Alexa app?
Enable the composter’s Alexa skill, sign in with your Amazon account, discover devices in the Alexa app, and assign the composter to a room.
Can I control the composter with Google Assistant, and how?
Yes—add the composter’s Google Home integration, authorize your Google account, and then you can issue voice commands like “Hey Google, start the composter.”
Is it possible to monitor the compost cycle remotely after integration?
Once linked, both Alexa and Google Home apps display real‑time status, allowing you to check cycle progress from any smartphone or tablet.