Introduction
In this guide the reader will learn how to turn everyday coffee grounds into valuable compost without creating unpleasant odors, even when living in a compact apartment. Understanding the process is valuable because it reduces waste, enriches indoor plants, and supports a sustainable lifestyle. The instructions are written for beginners and assume only basic kitchen equipment. By following the steps one can create a small, efficient system that fits on a countertop or behind a cabinet door.
What You'll Need
- A compact compost bin such as the LALASTAR Kitchen Compost Bin (3 L, $13.99, 4.4/5 rating).
- Optional larger bin for families: Glad Kitchen Compost Bin (1.5 gal, $19.99, 4/5 rating).
- Carbon‑filter bin for odor control: PERFNIQUE Compost Bin (1.7 gal, $23.74, 4.4/5 rating).
- Multi‑mount bin for flexibility: Gleynest Compost Bin (2.6 gal, $18.04, 4.3/5 rating).
- Reusable kitchen waste bags, a small shovel or spoon, and a source of dry brown material such as shredded newspaper.
Step‑by‑Step Instructions
Step 1: Choose the Right Compost Bin for Your Space
Selecting a bin that fits the limited countertop or cabinet area is the foundation of an odor‑free system. The LALASTAR Kitchen Compost Bin is ideal for studios because it occupies only eight inches by five and a half inches and holds three liters of material. Its lid blocks odors and the bin can be hung on a cabinet door, freeing valuable surface space. The bin is constructed from high‑quality plastic, has a sturdy handle for easy transport, and is priced at $13.99 with a 4.4‑star rating from over four thousand reviewers.
If the household generates more waste, the Glad Kitchen Compost Bin provides a 1.5‑gallon capacity and includes carbon filters that actively absorb odors. Its all‑side airflow design improves decomposition, and the removable inner basket makes emptying simple. The price of $19.99 and a 4‑star rating indicate solid value for larger apartments.
For those who prefer a metal aesthetic and built‑in carbon filters, the PERFNIQUE Compost Bin offers a 1.7‑gallon volume, a sleek cream finish, and two replaceable charcoal filters that keep the kitchen smelling fresh. At $23.74 and a 4.4‑star rating, it balances style with functionality.
Finally, the Gleynest Compost Bin provides a versatile mounting system, allowing hanging, adhesive, or freestanding placement. Its 2.6‑gallon capacity and dual‑opening lid make it convenient for frequent use. Priced at $18.04 with a 4.3‑star rating, it is a reliable mid‑size option.
Step 2: Prepare the Bin for Coffee Grounds
After selecting a bin, place a reusable kitchen waste bag inside. The bag prevents material from contacting the plastic and simplifies transfer to an outdoor compost pile. If the chosen bin includes a built‑in bag compartment, such as the Glad model, store the bag there for quick access. Ensure the lid is securely closed after each addition to contain any residual aroma.
For bins with carbon filters (PERFNIQUE and Glad), install the filters according to the manufacturer’s instructions. The filters are positioned in the lid and act like a charcoal sponge that captures volatile compounds released by coffee grounds. Replace the filters every four to six months to maintain effectiveness.
Position the bin in a location that is out of direct sunlight but easily reachable from the coffee maker. Hanging the LALASTAR bin on a cabinet door or attaching the Gleynest bin with its adhesive hook saves countertop space while keeping the bin at eye level for convenient use.
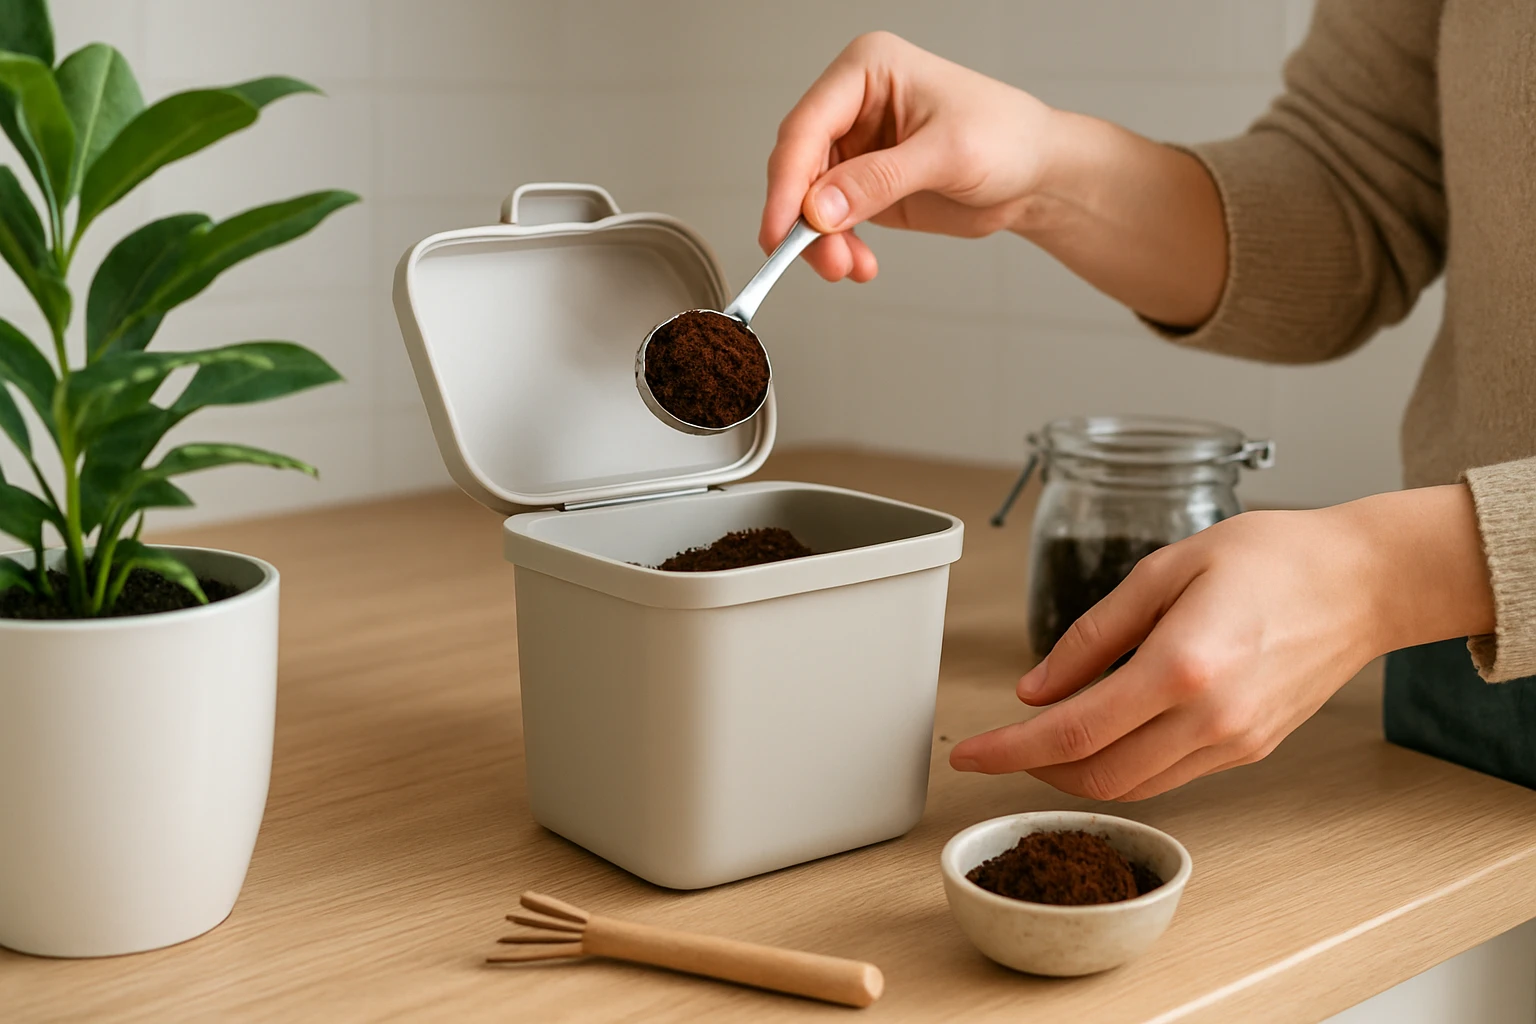
Step 3: Collect Coffee Grounds Properly
After brewing, allow the coffee grounds to cool for a few minutes to avoid moisture buildup that could encourage mold. Transfer the grounds directly into the bin using a small spoon or the built‑in scoop that often accompanies coffee makers. Do not overfill the bin; a maximum of one‑third of the bin’s volume should be coffee grounds at any time to maintain proper aeration.
Because coffee grounds are considered a “green” (nitrogen‑rich) material, balance them with “brown” (carbon‑rich) items such as shredded newspaper, cardboard, or dry leaves. Adding a thin layer of brown material after each coffee addition helps absorb excess moisture and reduces odor potential.
If the bin lacks a built‑in carbon filter, the lid alone provides a barrier. The LALASTAR bin’s tight‑fitting lid is designed to block smells, making it suitable for apartments where odor control is paramount.
Step 4: Maintain the Compost Mix
Stir the contents of the bin once a week with a small compost aerator or a clean spoon. This action introduces oxygen, which accelerates the breakdown of coffee grounds and prevents anaerobic conditions that cause foul smells. The all‑side airflow design of the Glad bin naturally promotes aeration, but occasional manual mixing still improves results.
Monitor the moisture level; the mixture should feel like a damp sponge. If it becomes too wet, add additional brown material. If it feels dry, lightly mist the contents with water. The carbon filters in the PERFNIQUE and Glad bins help regulate humidity by absorbing excess moisture.
When the bin reaches about 75 % capacity, transfer the compost to a larger outdoor compost system or a municipal green‑waste collection bin. The removable inner basket of the Glad bin makes this transfer effortless, while the LALASTAR bin’s sturdy handle allows safe carrying of the filled container.
Step 5: Use Finished Compost
After two to four weeks, the coffee grounds and brown material will have transformed into dark, crumbly compost suitable for houseplants. Scoop the finished compost with a small garden trowel and mix it into potting soil. Coffee grounds add nitrogen and improve soil structure, which benefits leafy vegetables and ornamental foliage.
If the compost is still partially decomposed, allow it to sit for an additional week before use. The odor‑free design of the bins ensures that the compost can be stored in the kitchen for short periods without affecting indoor air quality.
By following these steps one can maintain a clean, odor‑free compost system in a small apartment while contributing to waste reduction and plant health.
Tips & Pro Tips
- Use a dedicated compost bag that is biodegradable to avoid plastic waste.
- Place a small piece of newspaper on top of the coffee grounds after each addition; this creates a barrier that reduces odor.
- For apartments with strict waste‑sorting regulations, keep the compost bin near the recycling area to streamline transfer.
- Consider adding a tiny amount of garden soil to the bin to introduce beneficial microbes that speed up decomposition.
- If the bin develops a persistent smell, replace the carbon filter (PERFNIQUE) or clean the lid seal (LALASTAR) with a mixture of vinegar and water.
Troubleshooting
| Problem | Possible Cause | Solution |
|---|---|---|
| Strong odor | Excess moisture or insufficient brown material | Add dry newspaper, stir the mix, and ensure the lid is tightly closed. |
| Fruit flies appear | Open lid or lack of carbon filter | Close the lid promptly after each use; install a carbon filter if the bin supports it. |
| Compost does not break down | Low oxygen or too much coffee grounds | Stir weekly and keep coffee grounds to less than one‑third of bin volume. |
Conclusion
This guide has explained how to compost coffee grounds in a small apartment using compact, odor‑free bins and simple maintenance practices. By selecting the appropriate bin, balancing green and brown materials, and monitoring moisture, one can create nutrient‑rich compost without disturbing neighbors or roommates. The recommended products provide practical solutions that fit limited spaces while enhancing the composting experience. Begin today and watch kitchen waste transform into valuable plant food.
Products Mentioned in This Guide
Frequently Asked Questions
Can I compost coffee grounds in a small apartment without creating odors?
Yes, use a sealed bin with a carbon filter or add dry materials like newspaper to balance moisture and control smell.
What size compost bin is best for a single apartment dweller?
A 3‑liter countertop bin, such as the LALASTAR Kitchen Compost Bin, fits easily on a kitchen counter and handles daily coffee waste.
How do I balance carbon and nitrogen when composting coffee grounds?
Mix each scoop of coffee grounds (high nitrogen) with an equal volume of dry brown material (paper, leaves) to maintain a healthy C‑N ratio.
How often should I stir or aerate the coffee‑ground compost?
Stir the mixture once every 2‑3 days to introduce oxygen and prevent mold or foul odors.
Can the finished coffee‑ground compost be used on indoor plants?
Yes, once the material darkens and smells earthy (typically 2‑4 weeks), it can be mixed into potting soil to boost nutrients.