How to Integrate a Countertop Composter with Home Assistant: Step‑by‑Step Smart Composting Guide
Introduction
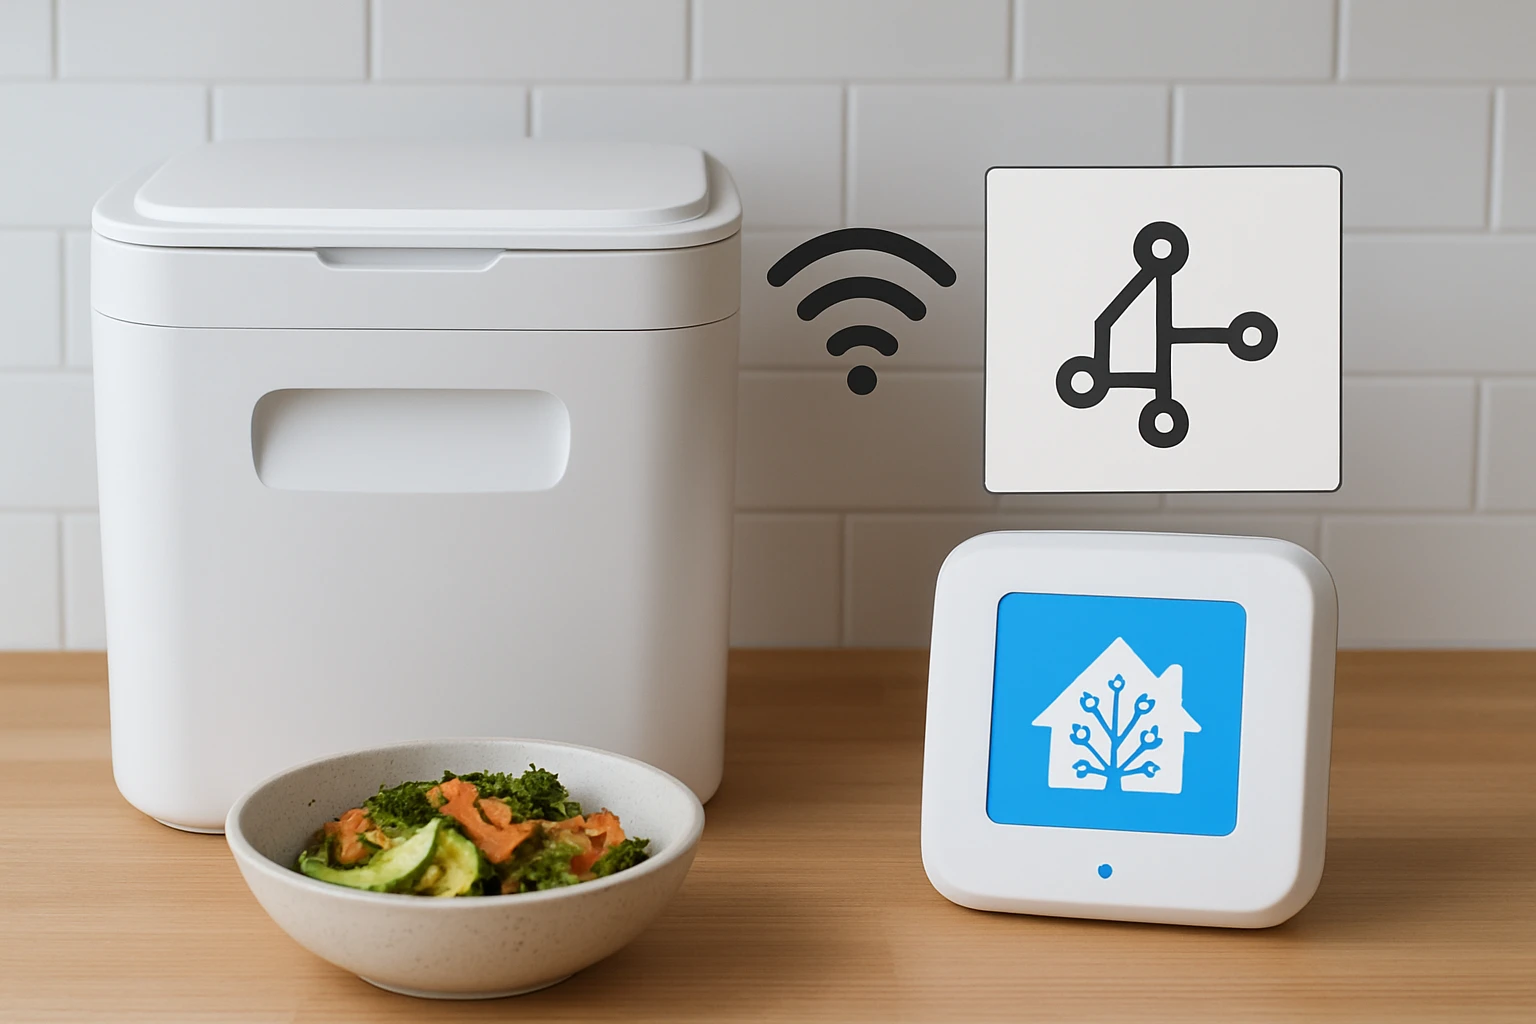
In this guide, the reader will learn how to combine a compact kitchen composting device with the Home Assistant automation platform. The integration enables automatic monitoring, odor control, and data collection about household waste reduction. By following the instructions, one can transform food scraps into nutrient‑rich soil while gaining insight into personal carbon footprints. The process adds convenience, sustainability, and technological elegance to everyday kitchen routines.
What You’ll Need
- A countertop composting unit such as the Airthereal Revive Countertop Composter.
- A Wi‑Fi enabled composting unit for advanced data sharing, for example the Airthereal Revive R800 WiFi Composter.
- A Home Assistant server (Raspberry Pi, virtual machine, or dedicated hub).
- Stable Wi‑Fi network with internet access.
- USB power adapters compatible with the selected composters.
- Basic networking tools (cable ties, short Ethernet cable if using wired connection).
Step 1: Position the Countertop Composter
Begin by selecting a location on the kitchen countertop that offers easy access to food waste and sufficient ventilation. The Airthereal Revive Countertop Composter occupies only one cubic foot, making it ideal for small kitchens, porches, or garage workspaces. Place the unit on a heat‑resistant mat to protect the surface from any accidental spillage of compost material. Ensure that the power outlet is within reach of the unit’s built‑in power cord.
The compact design reduces clutter while the one‑button control system simplifies daily operation. By positioning the composter near the sink, one can quickly deposit peelings, coffee grounds, and vegetable trimmings without interrupting cooking flow. This arrangement also facilitates the collection of finished compost in the supplied collection bags.
Product details: price $189.99, rating 4.5/5 from 34 reviews, ETL and FCC certified for safety. The rapid composting feature transforms waste into soil in hours, shrinking waste volume by up to 90 percent.
Step 2: Connect Power and Network
After the physical placement, plug the composter into a grounded outlet using the provided power adapter. For the basic countertop model, power is the only requirement; however, the Airthereal Revive R800 WiFi Composter also needs a stable Wi‑Fi connection to communicate with Home Assistant. Use the Wi‑Fi setup button on the R800 to launch the device’s onboarding network, then select the home Wi‑Fi SSID and enter the password.
It is advisable to place the Wi‑Fi composter within three meters of the router to ensure a strong signal. If the signal is weak, consider using a short Ethernet cable and a Wi‑Fi bridge to improve reliability. A strong connection prevents intermittent data loss and guarantees accurate real‑time monitoring.
Product details: price $269.99, rating 4/5 from 62 reviews, includes three composting modes and a biodegradable carbon filter for odor control. The self‑cleaning function reduces maintenance effort, and the Red Dot Award 2025 recognizes its innovative design.
Step 3: Install Home Assistant and Required Integrations
Install Home Assistant on a Raspberry Pi 4 or a virtual machine running Linux. Follow the official installation guide to flash the operating system onto a micro‑SD card, then power up the device and complete the initial configuration via a web browser. Once Home Assistant is running, navigate to the Integrations page and add the "MQTT" integration, which will serve as the communication protocol for the composters.
If the Wi‑Fi composter supports MQTT out of the box, enable the MQTT broker address in the device’s mobile app settings. For the basic countertop model, a custom integration can be created using a template sensor that reads power consumption data from a smart plug. Connect the composter’s power cord to a Wi‑Fi enabled smart plug, then expose the plug’s energy usage to Home Assistant.
Using MQTT ensures low‑latency, bidirectional messaging, allowing Home Assistant to receive status updates such as "cycle complete" or "filter replacement needed." The smart plug method provides indirect monitoring by detecting when the composter draws power, which typically indicates an active composting cycle.
Step 4: Create Automations for Smart Operation
With the devices linked, construct automations that respond to user actions and environmental conditions. Example automation 1: When the kitchen sensor detects a waste deposit (via a motion or weight sensor), turn on the smart plug for the basic composter for a predefined duration. Example automation 2: When the R800 reports a completed compost cycle, send a notification to the homeowner’s phone and log the event in the Home Assistant history.
Use the following YAML snippet as a template for the first automation:
automation:
  - alias: "Start Countertop Composter"
    trigger:
      - platform: state
        entity_id: binary_sensor.kitchen_waste_sensor
        to: "on"
    action:
      - service: switch.turn_on
        target:
          entity_id: switch.countertop_composter_plug
      - delay: "00:05:00"
      - service: switch.turn_off
        target:
          entity_id: switch.countertop_composter_plug
automation:
  - alias: "R800 Compost Complete Notification"
    trigger:
      - platform: mqtt
        topic: reviver800/status
        payload: "cycle_complete"
    action:
      - service: notify.mobile_app
        data:
          message: "Your compost cycle is complete. Empty the collection bag now."
Step 5: Visualize Composting Data
To make the system informative, add a Lovelace dashboard card that displays real‑time composting metrics. Include sensors for current mode (ECO, Bio, Self‑Clean), remaining time, and carbon‑footprint reduction calculated from the amount of waste processed. The R800 app already provides carbon data; this can be forwarded to Home Assistant via MQTT and displayed in a gauge card.
Example Lovelace configuration:
type: gauge
entity: sensor.r800_carbon_reduction
min: 0
max: 100
name: "Carbon Reduction (%)"
Step 6: Schedule Maintenance and Filter Replacement
Both composters require periodic filter changes and cleaning. Configure a monthly reminder in Home Assistant that alerts the user to inspect the carbon filter in the R800 and to replace the collection bags in the countertop model. Use the "input_datetime" helper to set a custom maintenance day, then create an automation that triggers a notification on that date.
Example automation for filter replacement:
automation:
  - alias: "Filter Replacement Reminder"
    trigger:
      - platform: time
        at: "09:00:00"
    condition:
      - condition: template
        value_template: "{{ now().day == 1 }}"
    action:
      - service: notify.mobile_app
        data:
          message: "Time to replace the carbon filter in your R800 composter."
Tips & Pro Tips
- Do not overload the composter; follow the manufacturer’s recommended maximum volume to avoid motor strain.
- Separate high‑acid foods (citrus, tomatoes) from the main load to prevent corrosion of internal components.
- Use the provided measuring scoop to standardize waste input, which improves composting efficiency.
- Enable Home Assistant’s "energy" integration to track electricity consumption of the composters and calculate net environmental benefit.
- For households with multiple kitchens, duplicate the automation templates and assign unique entity IDs to each composter.
Troubleshooting
Problem: The Wi‑Fi composter does not appear in Home Assistant.
Solution: Verify that the device is connected to the same network as the Home Assistant server. Check the MQTT broker address in the composter’s mobile app and ensure that port 1883 is open. Restart both the composter and Home Assistant, then re‑add the MQTT integration.
Problem: The smart plug never turns off after a composting cycle.
Solution: Confirm that the automation’s delay value matches the average cycle duration (typically 30‑45 minutes). Adjust the delay if the composter’s cycle time differs due to load size. Alternatively, use a sensor that reads the composter’s internal status instead of a timed delay.
Conclusion
This guide has demonstrated how to integrate a countertop composting unit with Home Assistant, creating an automated, low‑odor, and data‑rich kitchen waste solution. By positioning the device, establishing network connectivity, installing Home Assistant, and configuring automations, one can achieve hands‑free composting while monitoring environmental impact. Regular maintenance and thoughtful visual dashboards sustain long‑term engagement. Readers are encouraged to implement the steps, adapt automations to personal routines, and enjoy the benefits of a smarter, greener household.
Products Mentioned in This Guide
Frequently Asked Questions
What hardware is required to connect a countertop composting unit to Home Assistant?
You need a Wi‑Fi‑enabled composting unit (e.g., Airthereal Revive R800), a Home Assistant server (Raspberry Pi, VM, or hub), and a stable Wi‑Fi network.
How do I add the composting device to Home Assistant?
Install the MQTT or native integration for the composter, enter its IP address and credentials in Home Assistant’s Integrations page, and then enable the entity.
Can I monitor odor levels and compost cycle status in Home Assistant?
Yes, once integrated you can view real‑time sensor data such as temperature, humidity, and cycle progress on your Home Assistant dashboard.
Is it possible to automate odor control with Home Assistant?
You can create automations that trigger a fan or air purifier when the composter’s odor sensor exceeds a set threshold.
What common issues should I check if the composter isn’t syncing?
Verify the composter is on the same Wi‑Fi network, confirm MQTT broker settings, and ensure the device firmware is up to date.